toolivo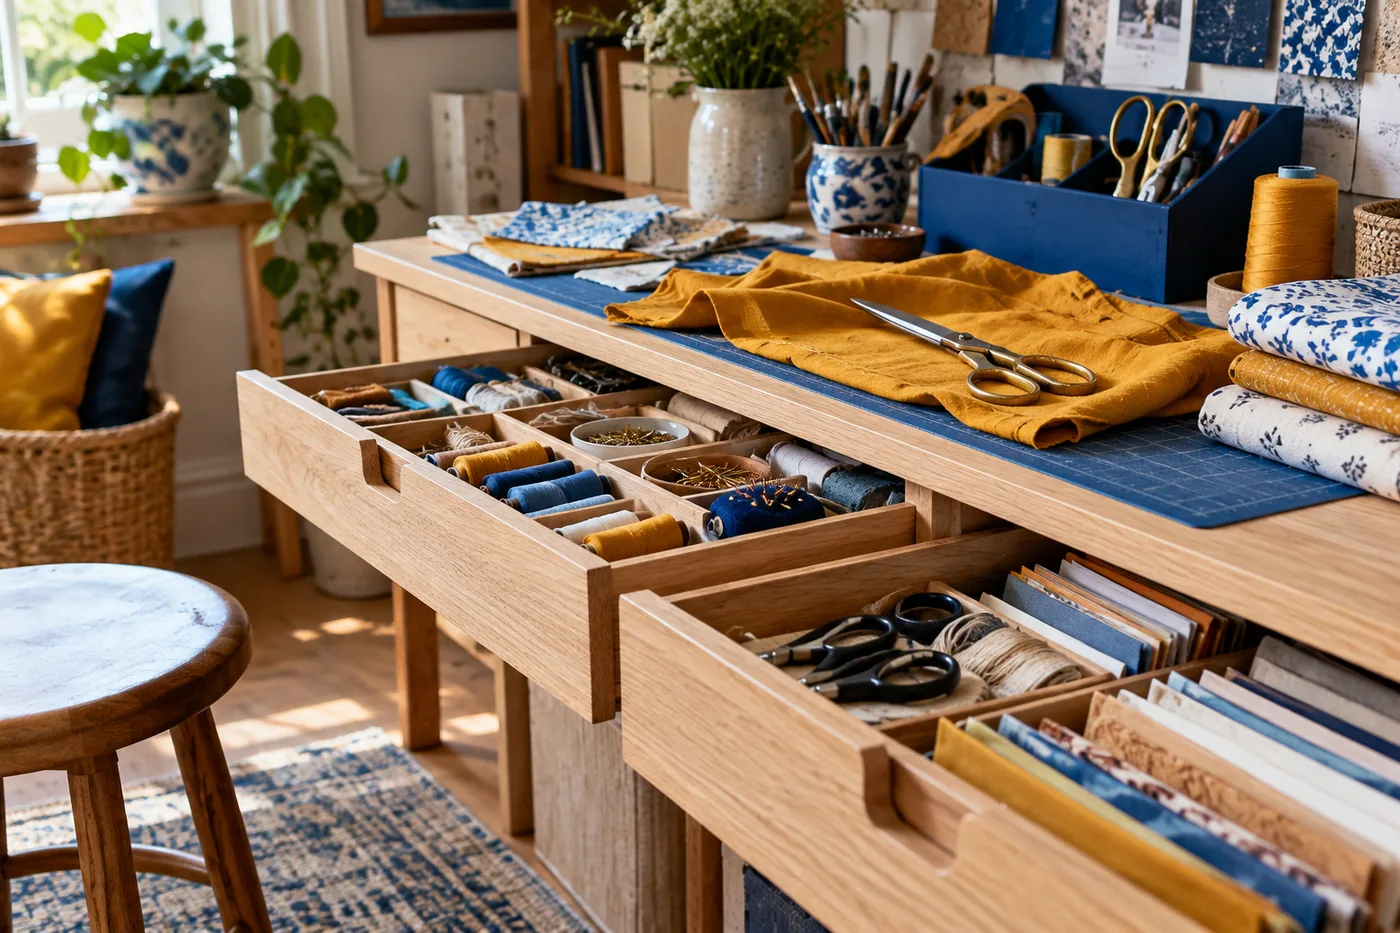
Hobby storage has to support two different pleasures: choosing what to make and actually making it. A collection sorted beautifully by material can be satisfying to browse, yet slow to gather for a short evening session. A complete project kit can make starting simple, yet hide shared tools and create duplicates. The most useful arrangement recognizes those competing needs and gives both materials and active projects a clear place.
This guide focuses on ordinary craft collections such as paper, yarn, fabric, drawing materials, and similar hobby supplies. Follow the original storage and use directions for any materials or tools you own. The organizational goal is to make the collection understandable, keep current work together, and ensure that putting things away does not consume the time you hoped to spend creating.
Identify how your hobby sessions really happen
Think about where you work, how long a typical session lasts, and what must happen before you can begin. You might use a dining table that needs clearing afterward, a small desk shared with other activities, or a dedicated surface with limited storage nearby. These conditions matter more than an ideal photograph of a craft room with every tool permanently displayed.
List the hobbies you currently practice separately from those you might return to someday. Within the active hobbies, identify recurring tasks: sketching, mending, making cards, knitting small items, or preparing scrapbook pages. An active collection deserves convenient access because it repeatedly moves between storage and work. A dormant collection may still be worth keeping, but it does not automatically need the easiest shelf.
Notice what interrupts a session. Searching for a particular tool, untangling mixed materials, clearing space, or remembering what remains unfinished are different obstacles. Choose the first storage change to address the obstacle that recurs most often. Otherwise it is easy to spend an afternoon sorting an attractive category while the problem that prevents you from starting remains untouched.
Separate materials, tools, and projects
Materials are the consumable inputs: paper, fabric, yarn, thread, and similar stock. Tools are the reusable items that support several projects. Projects are specific pieces of work with their own selected materials, instructions, and unfinished components. These groups overlap during a session, but treating them as distinct storage roles makes the collection easier to manage afterward.
Start by gathering one hobby's supplies and sorting them into those roles. Keep uncertain items together temporarily rather than inventing a permanent category for each object. Look for supplies that belong to a specific unfinished project, especially small cut pieces or selected colors. Returning those to general stock may erase useful decisions and make restarting the project more difficult.
Shared tools usually benefit from one predictable home. If the same scissors, ruler, or measuring tool supports several hobbies, hiding it in one project kit may inconvenience the others. You can borrow it for a session and return it afterward. A project kit should contain the items that belong to that project, plus only those tools you have deliberately assigned to stay with it.
Choose category storage for reusable stock
Category storage is useful when you select materials afresh for each project. Group paper by size or type, yarn by a distinction that matters to your work, and fabric by the features you actually search for. There is no single correct order. If you choose materials by color, color groups may help; if you work from technical specifications on labels, those details should remain accessible.
Avoid subdividing a small collection too aggressively. Six sheets of decorative paper do not necessarily need separate files for every pattern. Start with broad groups and split a group when browsing becomes slow or materials become difficult to distinguish. Every additional category creates another decision when putting things away, so the improvement in retrieval should justify that extra step.
Keep useful identifying information with the stock. Original labels, material details, and project-relevant measurements can prevent repeated guesswork. A short note may help identify a remnant's approximate size or its connection to another piece. Record information you are likely to use, not a comprehensive catalog that takes longer to maintain than the hobby itself.
Use project kits for work you intend to continue
A project kit gathers the selected materials, instructions, and unfinished work for one defined project. It can be a folder, pouch, box, or existing bag that suits the contents. Add a clear name so you do not have to open several similar containers to find the right one. Include a brief next-step note when the project has several stages.
Choose the kit container after gathering the project, not before. Flat paper work may need a folder that supports its size, while yarn and an unfinished piece may suit a soft bag. Keep the arrangement compatible with the materials' own requirements and avoid forcing delicate components into a container that distorts them. The purpose is to preserve a useful starting point, not merely to make the project disappear from view.
An illustrative card-making kit might contain the selected card blanks, prepared decorative pieces, a sketch, and a note saying “assemble the remaining three fronts.” General scissors and rulers could remain in the shared tool area. The kit saves the earlier selection work without trapping every useful tool. When the session begins, the next action is visible immediately.
Set a limit on active projects
Each active project consumes storage and attention, even when its materials are compact. Choose a manageable number of active kits based on your available space and how you prefer to work. Some people enjoy one ongoing project; others like several distinct activities. The useful limit is one that keeps every active project visible and retrievable without stacking it beneath a collection of forgotten intentions.
When a new project arrives, decide whether it becomes active, waits in a clearly marked future-project area, or replaces an existing active project. This is a planning choice, not a judgment about creativity. Without that choice, every attractive idea can become a partly assembled kit, reducing the usable general stock and making the collection seem mysteriously depleted.
Review stalled projects individually. Ask whether the barrier is missing information, an unavailable material, loss of interest, or a next step that feels too large. Write the specific issue on the kit. You may resume it, return reusable materials to stock, or retain it deliberately as paused work. Each outcome is clearer than allowing “active” to mean anything you have ever started.
Keep small pieces from becoming an unidentified collection
Offcuts, remnants, beads, and other small pieces can be valuable, but they need a boundary. Define what makes a piece worth retaining for your actual work. The answer might relate to usable size, material type, or a recurring project that regularly consumes small quantities. Avoid keeping every fragment solely because some possible future use can be imagined.
Give retained pieces one suitable container per meaningful category. When that container fills, review its contents before adding another. This makes the limit visible without requiring you to measure every scrap. Keep pieces associated with an active project in that project's kit rather than mixing them into general remnants, where their purpose may be lost.
Make the collection easy to browse. A tightly packed bag of assorted fragments may technically preserve everything but make selection so difficult that you always reach for new stock. Shallower groups, a simple envelope system, or a few size divisions may help. Choose the method that lets you identify useful pieces quickly enough to actually incorporate them into a project.
Design storage around setup and cleanup
Place the supplies used at every session closest to the work area where practical. Keep less frequently used categories farther away in known locations. If you must move between rooms, a modest portable tool container may reduce repeated trips. Make sure it has a clear return home and contains only the tools needed often enough to justify carrying them together.
Think through cleanup in reverse order. Where will the unfinished project go, where will unused stock return, and where do shared tools belong? Leave enough room in each destination to accept the items without rebuilding a complicated arrangement. Storage that looks tidy only when packed in one exact sequence is likely to fail at the end of a short evening session.
Keep one small temporary tray for items that need a decision during cleanup if that helps you clear the working surface. Empty it at the next planned review rather than treating it as permanent overflow. A temporary tray works best when it catches a few genuinely unresolved pieces. If it receives half the collection after every session, the main categories need simpler destinations.
Choose containers by format and access
Flat materials need storage that accommodates their actual dimensions. Measure the largest commonly used pieces before choosing folders or boxes. Tall narrow containers can suit some tools, while shallow compartments can make small items easier to see. There is no need to make every category use the same container shape. Consistency of labels can provide coherence even when the physical storage varies.
Transparent containers make contents visible but may still need labels when similar materials look alike. Opaque boxes can work well when their categories are clear and the contents are stable. Check that you can open or remove the container where it sits. A beautiful stack becomes inconvenient if accessing the busiest category requires lifting several other boxes every time.
Avoid buying a large organizer based on an imagined future collection. First test the category boundaries with containers you already have, then identify the specific gaps. Perhaps you need one suitable folder for oversized paper or one divided box for a genuinely mixed small-parts category. Focused purchases are easier to evaluate than a complete storage overhaul made before the workflow is understood.
Make purchasing respond to the collection
Keep a short list of supplies that are actually needed for current or clearly planned work. Record the relevant specification so that shopping does not produce a near-match you cannot use. Before adding an item, check both general stock and active kits. A material may appear absent from its usual category because it has already been reserved for a project.
Distinguish a project requirement from an attractive possibility. Both can be valid purchases, but they have different storage consequences. A project requirement has a defined destination and expected use. An exploratory purchase needs room in the general collection and a willingness to experiment with it. Naming the distinction helps you judge whether the current space can accommodate it comfortably.
If you enjoy browsing supplies, set a physical boundary for exploratory stock. That might be one shelf section or a particular box. Review it before bringing in more. The aim is not to eliminate the pleasure of materials; it is to keep that pleasure accessible. A manageable collection invites use more readily than one that must be excavated before any choice can be made.
Finish projects with a proper storage reset
Completing the creative work is not quite the end of a project's storage cycle. Return unused materials to their general categories, put shared tools back, and decide what to keep from the instructions and notes. Remove the project's active label or reuse the container for a deliberate next project. Otherwise finished kits can continue occupying the limited space intended for ongoing work.
Give finished objects a destination as well. They may be used, displayed, given away, stored as a collection, or photographed for your own record. The appropriate decision depends on the object and your intentions. What matters organizationally is that completed work does not remain mixed with active materials so long that you cannot tell which projects are actually unfinished.
Keep only useful process notes. A successful adjustment, a material substitution, or a measurement you expect to repeat can deserve a place in a small reference notebook or project record. Generic packaging and unrelated scraps do not automatically need to stay with the finished piece. A brief, readable record is easier to revisit than a box of unexplained leftovers.
Leave a restart note before packing away
Spend the last moment of a session recording the next concrete step. “Continue knitting” provides little guidance; “repeat the current section, then check the length against the pattern” preserves more of your working context. For paper or fabric projects, a sketch or a labeled group of selected pieces may communicate the next step better than a long paragraph.
Keep this note inside the project kit where you will see it first. It should explain the state of the project without requiring you to remember why a loose component was set aside. When you resume, replace the note as needed rather than accumulating several outdated instructions that contradict one another.
Questions about hobby supply storage
Should I organize everything by color?
Use color where it matches the way you select materials. If size, type, or another specification comes first in your decisions, organize by that feature and use color within the group if helpful. An arrangement should support actual choosing. A visually pleasing rainbow can still be inconvenient when it mixes materials that serve different purposes.
How many project kits are too many?
The practical limit is reached when you cannot see what is active, retrieve a kit easily, or return shared tools reliably. Set a number or physical area that fits your space, then review it as your habits change. The boundary should preserve access and momentum rather than enforce someone else's preferred way of making things.
What should I do with supplies for an old hobby?
Separate them from the active collection and give them a deliberate review. Consider whether you want to return to the hobby, preserve selected materials, or pass suitable supplies on through an appropriate route. You do not have to decide everything immediately, but dormant stock should have an identified home and a known share of your storage.
Can I keep a hobby collection in shared living space?
Yes, if setup, cleanup, and the physical boundary are clear. Use portable project kits and a defined stock area, and agree on when common surfaces need to be available. The collection does not need to disappear aesthetically; it needs to coexist with other uses of the room without making every session a negotiation.
About this guide
Published by Toolivo Editorial. Our guides focus on practical household organization and adaptable room layouts.
Have a correction or a question? Contact Toolivo or read our editorial policy.