toolivo
A small room can feel difficult to arrange even when its floor area seems reasonable. The problem is often not the number of square metres. A door opens into the only useful corner, a low window interrupts a wall, or a cupboard needs more working space than its outline suggests. Measuring those details before moving furniture gives you a much more useful starting point than guessing from photographs.
You do not need architectural drawing skills for a first room plan. You need a readable sketch, consistent units, and enough information to distinguish a layout that looks tidy from one that works on an ordinary morning. This guide takes you from an empty sheet of paper to a practical plan you can test with furniture you already own.
Begin with the room you actually have
Draw a rough outline without worrying about scale. Include every change in direction rather than smoothing an awkward recess into a rectangle. A shallow chimney breast, structural column, or boxed pipe can determine whether a cabinet sits flat against the wall. Give each wall a letter so your notes remain understandable when you return to the sketch later.
Measure each wall at floor level where practical, then note anything that prevents furniture from using its full length. Skirting boards make the usable depth slightly different from the wall surface. A curtain that gathers beside a window needs its own space. Record these interruptions instead of mentally subtracting them every time you consider a new arrangement.
Use one unit throughout the plan. Centimetres are convenient for many household sketches, while inches may suit the furniture information available to you. Write the unit at the top of the page. A measurement without a unit is a small ambiguity that becomes an expensive mistake when another person helps choose furniture.
Separate the outline from the obstacles
Create two layers of information. The first is the permanent shape: walls, doors, windows, and fixed built-ins. The second is the movable content: sofa, table, lamps, shelves, and storage boxes. Keeping these separate stops a current arrangement from feeling inevitable. A chest might look built into the corner simply because it has stood there for years.
Mark sockets, light switches, heating equipment, vents, and any access panels that must remain reachable. This is not a wiring plan. You are recording the room's practical limitations. Furniture should not prevent access to a switch or encourage cables to trail across a walking route. Follow the manufacturer's clearance requirements around heating and ventilation equipment rather than relying on a decorative photograph.
For every opening, measure its width and its distance from the nearest corner. For windows, record the height of the sill if furniture may sit below it. Note how curtains or blinds operate. A desk that technically fits under a window may still obstruct the handle or make daily opening awkward.
Give doors a moving footprint
A closed door occupies little space on paper. An opening door occupies a whole arc. Draw that arc, including the direction of swing, and mark the handle if it comes close to nearby furniture. Repeat this for wardrobes, cupboards, drawers, and any folding furniture. Their working footprint matters more than their closed dimensions.
Walk through the room with the door fully open and again with it partly open. Observe where you naturally stand while reaching for the handle. If a storage basket forces you to step backward into the room every time, the basket is using circulation space even if it does not touch the door itself.
Do not solve a difficult plan by assuming doors will stay permanently open or closed. Most homes need both states. Likewise, a drawer that can open only after moving a chair is not freely accessible storage. You may accept that compromise for something used twice a year, but it is a poor place for daily clothing.
Measure furniture in three dimensions
Record width, depth, and height for every large item you expect to keep. Include protruding handles, feet, arms, and backs. A sofa's advertised seat depth may not be its total depth. A cabinet may need room behind it for its construction or a cable connection. Measure the actual object rather than relying entirely on an old product listing.
Height changes how a room feels and how objects interact. A tall shelf near a doorway can narrow the visual entrance even when the floor route remains clear. A low table may preserve a sightline but be awkward for the activity you intend. Add a short note about purpose beside the measurements so dimensions never become the only decision.
For items that transform, write both measurements. Record a dining table closed and extended, a sofa bed stored and unfolded, and a folding desk open and shut. Then measure the space needed to operate the mechanism. A piece that can become larger is useful only if the room can support that larger state when required.
Draw a simple plan to scale
Choose a scale that fits the room on your paper. For example, one centimetre on paper can represent twenty centimetres in the room. At that scale, a three-metre wall becomes fifteen centimetres long. Write the scale clearly and use the same conversion for every object. A small ruler is enough for this exercise.
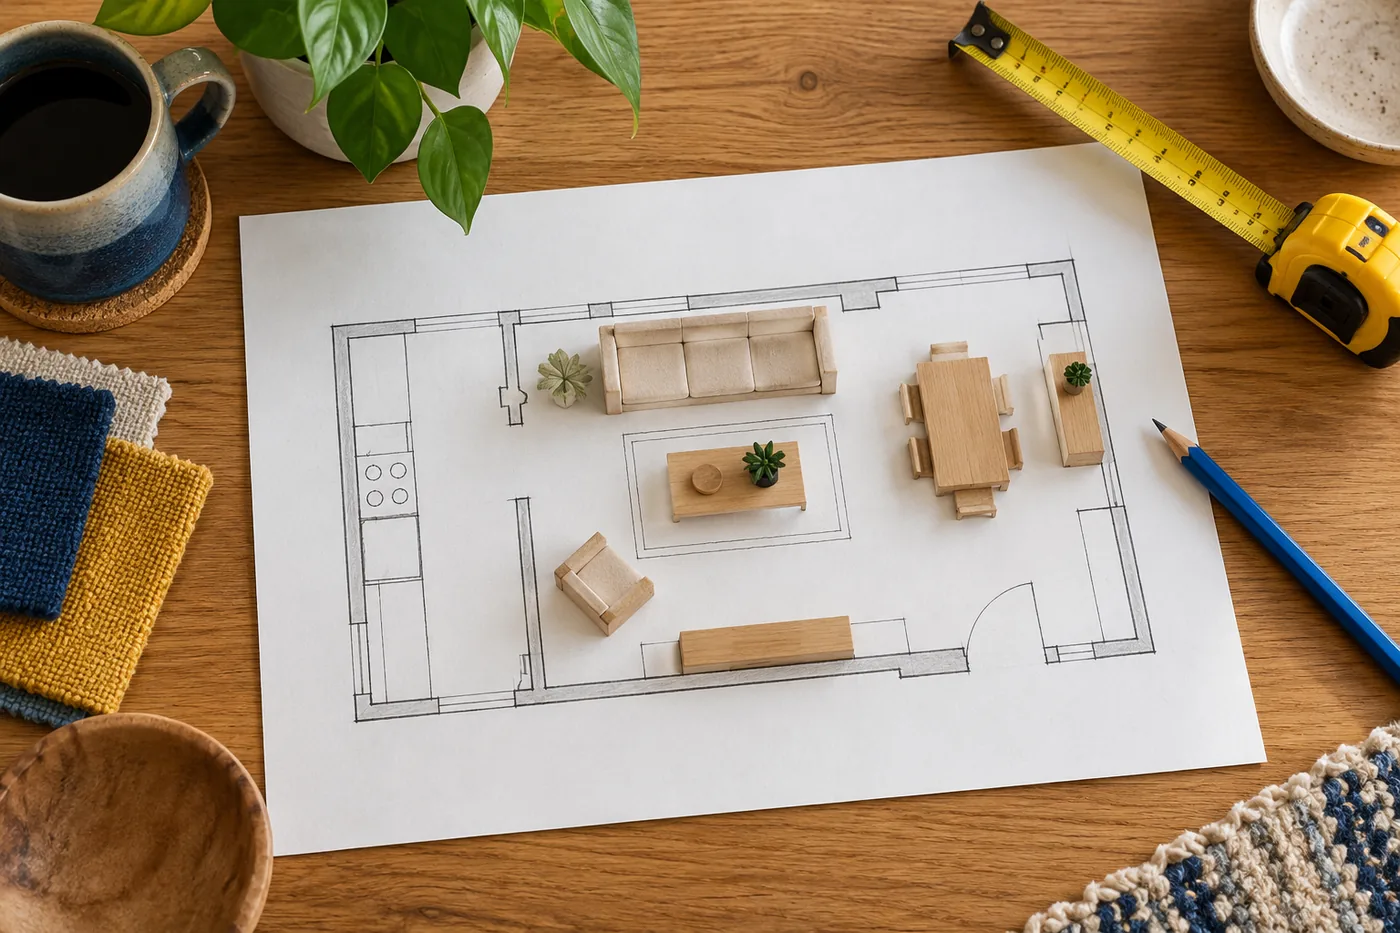
Draw the permanent room outline first. Transfer the openings and obstructions next. Cut separate paper shapes for the main furniture, labeling each one with its name and actual dimensions. Paper pieces make alternatives easy to compare without erasing the plan repeatedly. Keep smaller objects off the first version unless they affect access or circulation.
You can use a digital drawing application if you prefer, but avoid spending the entire session choosing software. The important output is a reliable relationship between objects. A plain sketch that includes an opening wardrobe is more useful than a polished rendering that forgets it. If the drawing starts feeling complicated, return to the largest items and the route through the room.
Trace the journeys before arranging the display
Identify the most frequent journeys: doorway to seat, bed to wardrobe, kitchen entrance to table, or desk to storage. Draw these routes as broad paths rather than thin lines. People carry laundry, bags, and plates. They turn their bodies, pass one another, and sometimes need a mobility aid or another person's support.
There is no single clearance number that suits every person and every room. Use any applicable accessibility or building requirements, then test the arrangement with the household's actual needs. A path that seems comfortable when empty may fail when a dining chair is occupied. Record the demanding everyday situation rather than only the easiest one.
Choose one route to protect first. In a combined living and dining room, that may be the path from the entrance to the kitchen. Arrange furniture around it. This prevents the common sequence in which every object gets an attractive position and the remaining gaps are expected to become a circulation system.
Test the plan on the floor
Use paper, a spare sheet, or removable tape that is suitable for your floor finish to mark a proposed footprint. Test a small inconspicuous area before applying adhesive, and remove it according to the product directions. You are trying to feel the object's presence, not produce an exact showroom outline.
Walk around the marked shape with something you regularly carry. Pull out the adjacent chair. Open the nearest drawer. Stand where a guest would stand while you pass. These movements expose problems that are easy to miss from above. If the footprint interrupts a familiar route, try changing orientation before deciding the room needs smaller furniture.
Leave the test in place long enough to experience more than one activity, provided it does not create a trip hazard. A table position may work beautifully for breakfast but block the place where laundry is sorted in the evening. Make notes immediately. Vague impressions are difficult to compare; specific observations lead to specific changes.
Worked example: a room with one awkward wall
Imagine a room measuring 320 by 410 centimetres, with a door near one corner and a window on the opposite short wall. The household wants a sofa, a reading chair, and a small dining surface. These numbers are an illustration, not a universal layout recommendation. The useful part is the order of decisions.
Start by drawing the door swing and protecting the route to the window. Next, place the sofa where its full depth does not interrupt that route. Try the reading chair in two positions, checking both the seated footprint and the space needed to stand. Finally, test the dining surface with a chair pulled out rather than pushed neatly underneath.
If the dining area fails, consider a smaller everyday table, a different chair, or a table position along another wall. Do not automatically remove the reading chair if reading is a major daily activity. The right compromise comes from household priorities. A layout is successful when it supports what happens most, not when it fits the greatest number of furniture categories.
Keep a measurement sheet for future decisions
Create a short permanent record containing the room plan, doorway dimensions, largest furniture measurements, and any non-negotiable clearances. Photograph the sketch or store a digital copy. Add a date to your own notes so an older plan is not mistaken for the room after a later alteration.
Include the delivery route if a purchase is being considered. The front door, corridor turns, stairs, and lift may limit what can reach the room. A package dimension is different from an assembled dimension. Ask the seller about both, including any assembly requirements, before assuming that something fitting the final plan will fit the journey inside.
Also record a maximum footprint for any replacement item. This is more useful than a vague instruction to find something compact. Write the largest acceptable width and depth, the required function, and the feature you are willing to sacrifice. Those boundaries reduce the chance that an attractive product photograph overrides the work you have already done.
Questions that often come up
What if the walls are not perfectly straight?
Measure in more than one place when a tight fit matters. Older rooms may vary slightly from floor to ceiling or from one end of a wall to the other. Use the smallest usable dimension for planning a close-fitting object, and leave a practical tolerance. Custom cabinetry or structural questions need a qualified professional's measurements rather than a casual room sketch.
Should I measure everything before doing anything?
No. Start with the room boundary, openings, and the largest pieces that control the layout. Measure smaller objects when they become relevant. Recording every plant pot and cushion can turn a useful planning session into an exhausting inventory. The aim is to remove uncertainty at the points where a wrong assumption would change the decision.
Can photographs replace measurements?
Photographs help document obstructions and compare visual arrangements, but perspective can make dimensions misleading. Use images alongside the written plan. Take one photograph from each corner if that helps you remember the room, and label details that are easy to miss. Never estimate a critical furniture fit solely from the apparent width of an object in a photograph.
How do I know when the plan is good enough?
A practical first plan answers four questions: what fits, what opens, where people move, and what remains accessible. It does not need to settle every decorative choice. Once those questions have reliable answers, test one arrangement in the room. The next improvement should come from living with the layout, not from endlessly polishing a drawing that nobody uses.
Record the details that photographs miss
When you finish measuring, add a short note about the floor and the objects that regularly move through the room. A thick rug may affect whether a door clears the floor, and a wheeled chair may behave differently on different surfaces. These details do not need a complex drawing, but they belong beside the dimensions because they influence how an arrangement performs.
Keep uncertain measurements visibly marked until you can check them. Do not round a close fit in the direction that makes a preferred object appear suitable. If the measurement is difficult to take alone, ask someone to help or use an appropriate measuring tool according to its instructions. Accurate uncertainty is more useful than false precision when the next decision involves spending money or moving a large object.
A final check with another person
Ask someone else to read the sketch without explaining it first. Can they identify the doorway, understand the units, and tell which shapes represent existing furniture? Their questions reveal missing labels that you may overlook because the room is familiar. Correct those small ambiguities before using the plan to compare purchases or discuss a layout with a partner.
Then choose one reversible change. Move a side table, turn a chair, or temporarily remove an item that interrupts circulation. Keep the original measurements so you can return to the earlier arrangement if necessary. A useful room plan gives you permission to experiment carefully. It should make the next decision easier, not make the room feel like a puzzle with only one acceptable answer.
About this guide
Published by Toolivo Editorial. Our guides focus on practical household organization and adaptable room layouts.
Have a correction or a question? Contact Toolivo or read our editorial policy.